

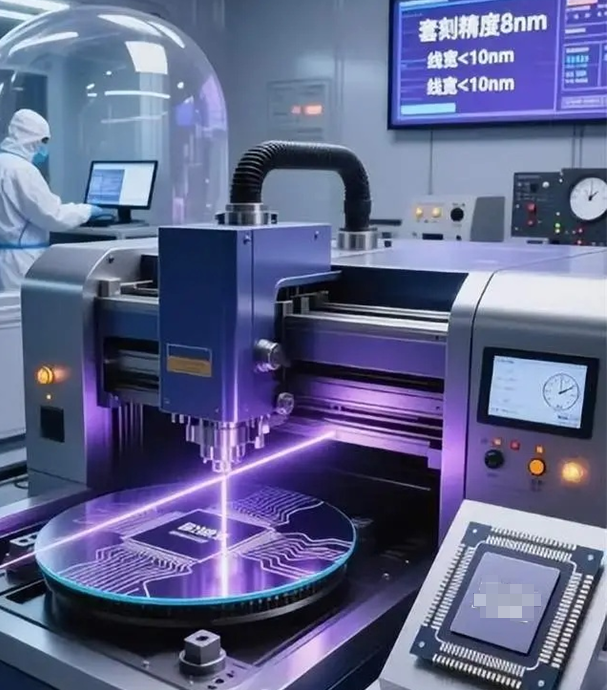
On the lithography floor, a 300mm wafer carries thousands of dies, and every second counts toward the thermal budget. A soft bake that drifts even 0.3°C can pull critical dimension, and a hard bake that runs hot at the edge will start to show scumming. The safety distance for wafer heating isn’t a comfort margin—it’s the line that keeps yield from walking away. What matters under the hood We build the heating system around ±0.1°C steady-state uniformity across the wafer plane, then verify it with multi-point mapping under production conditions. The hot zone uses quartz-halogen emitters tuned for fast, repeatable response. The chamber is cleanroom Class 1–100 compatible, with low-outgassing materials and a laminar flow path that keeps particle counts flat. Photoresist bake profiles repeat within ±0.1°C run-to-run, so critical dimension and sidewall angle stay pinned to the spec. Here’s the payoff: you run soft bake and hard bake with the same thermal confidence, lot after lot. Tight uniformity cuts edge defects and rework, speeds qualification, and settles the whole litho stack. Fast stabilization shrinks idle time between lots, and the energy management keeps the thermal load predictable—no surprise spikes to chase. For packaging lines that need consistent adhesion and clean interfaces, that means fewer excursions and a straighter shot at high first-pass yield. Thermal precision lives or dies on mounting and clearance. Keep the specified safety distance to the wafer surface, and hold emitter-to-stage alignment within tolerance. Otherwise, you can get local hot spots even when the average temperature looks fine. Schedule recalibration for the sensor array, and confirm cleanroom compatibility at the connector and seal interfaces. Treat the process as a closed loop: set it, measure it, adjust it.